
Add or Remove Students in Events
Menambahkan atau Menghapus Siswa Dalam Event
Menambahkan Siswa Secara Manual ke Event/Biaya (Fee)
Menambahkan Siswa dan Item Biaya melalui File Impor
Catatan
Menghapus Siswa dari Event
Siswa dapat dihapus dari Event/Biaya (Fee) yang sudah disetujui (Approved). Namun, jika siswa tersebut telah melakukan pembayaran, pembayaran tersebut harus dikembalikan (refund) terlebih dahulu sebelum siswa dapat dihapus dari Event.
Catatan
Adding students to an event
Students can be added to an event manually or via file import. It is important to note that if the Import File option is enabled then students cannot be added manually.
Manually Add Students to an Event/Fee
- In the event, click on the Students tab and then click Add Students
- Select the students to be added individually or by Forms, Year Levels, Classes or Campus
- Once all students are selected, click Add Students
Add students and cost items via Import File
More detailed information, including how to add multiple cost items, can also be found here .
Before the event is approved, ensure that the Import File option is selected in the event details

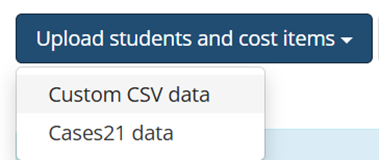
2. Click on the Students tab and then click Upload Students and Cost Items and select either Custom CSV data or Cases21 data
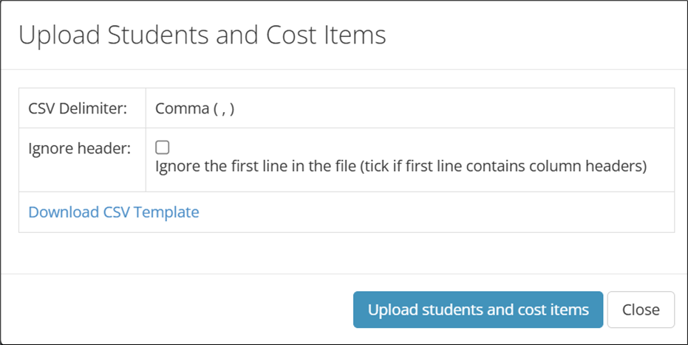
3.The CSV upload window will give you the option to Ignore Header , which should be selected if the first line of the file cont ains column headers.
4. If uploading from CASES21, it’s best to select Tab as the delimiter.
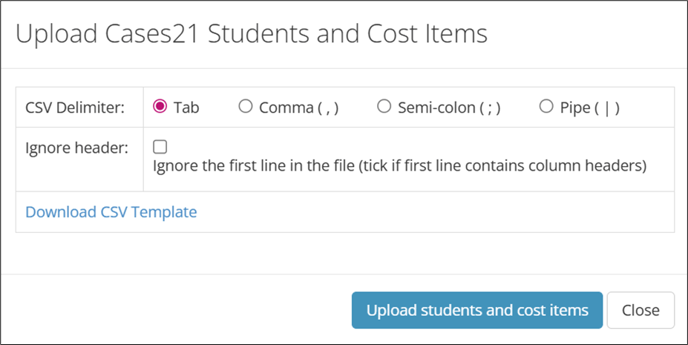
5. Click Upload students and cost items
Removing students from an event
Students can be removed from an approved event/fee, however, if any payments have been made, these must be refunded before the student is removed from the event.
- In the event, click on the Students tab
- Use the select all checkbox in the header row, or tick the checkboxes of individual students you wish to remove
- Click the Ticked Options dropdown and select Remove Student(s)
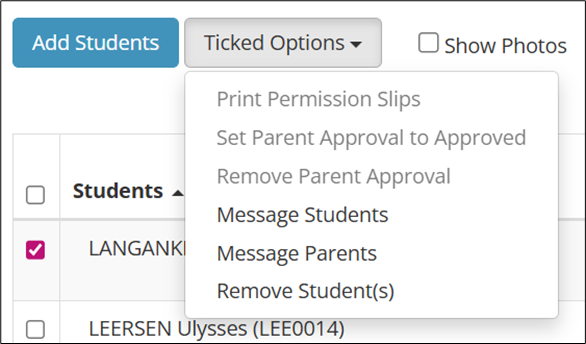
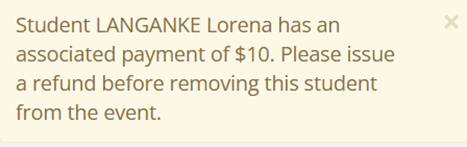
Prestia will issue a warning when there is an attempt to remove a student who has already paid toward the event and a message will appear with an instruction to refund before removing the student.
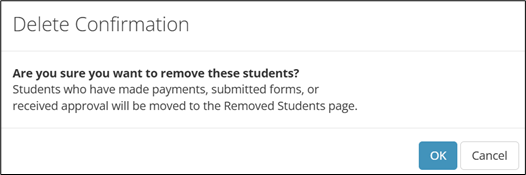
When students who have had approval given, or payment made, are removed from the event they will appear in the Removed Students tab at the top of the screen.